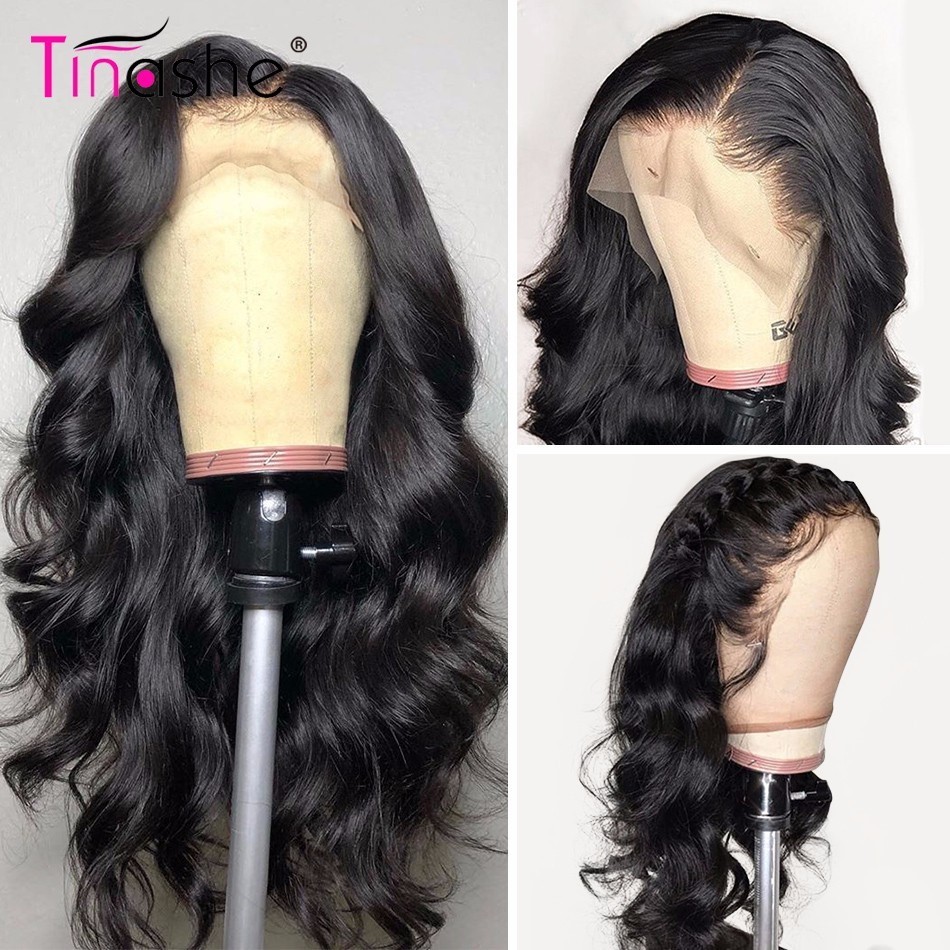
For years, hairstylists have been using plucked human wigs to provide their clients with a natural look of hair. Actually, it is still one of the main choices of wigs now and has been widely used by the public. Among the many options, pre-plucked lace front wig is one of the most popular wigs in the market. Most of the pre-plucked lace frontal wigs have a very thin hairline, with a natural hairline.
Why do you need to pre plucked the wig?

The pre-plucked wig allows you to have a natural hairline. In the straight wigs, the density at the top is lower, while that is true for real hair. Hair of varying lengths usually grows around the human hairline. It is natural growth. Therefore, in order to get a very real look, you should also remove the wig to give the same impression and frame a perfect hairline. This problem does not occur with pre-plucked wigs, but for non-pre-plucked wigs, you must manually remove the wig.
How do you pre plucked a lace wig yourself?
If you are the beginner to pre-plucked wig, here are some common installation steps that can help you get the natural look you want.

What you need: Lunas cap with adjustable shoulder strap and comb, mannequin, canvas hair, mousse, coconut oil.
Step 1: those steps are optional as your like. How to make the knot white so that it is unseen, letting the wig looks perfect. First, please remove the middle comb. This process will help you improve the hair level. Float off the small knots that hold the hair in the cap.
Take two spoons of bleach and use 50-60 developers based on your like. The preferred density of the developer is crowded because it should not penetrate the hair.
Step 2: let the bleach stand for at least 30 minutes. Then continue to shampoo the bleached area of the cap. Before rinsing, let it sit for 5 minutes. Bleached hair knots can increase the natural feel of the wig. We strongly recommend that you seek help from an expert or apply some basis to the inside of the lace instead of bleaching it. Excessive bleaching can cause hair loss.
Step 3: This is the starting point of the actual plucking process. It includes putting hair on the mannequin and beginning to customize the hairline. If the wig has been pre plucked, no more plucking is necessary.

Step 4: after Drying the body wave wig makes it easier to see the appearance of the hairline, put a little oil to your hair. Get the best pair of tweezers because the quality of the tweezers directly affects the goods. Start at the front end of the hairline, then start tweezers to remove any hair knots that are not properly damaged. Detach the wig, then return to the hairline to start the hairpin.
Step 5: Continue to cut out more hair. Some hairs were plucked from these parts this time, and the hairs in these parts were thinner than the others. It uses the hairline to create a gradient/gradient effect. The frontal lobe starts to look more real.
Step 6: After completing the creation of the hairline, some baby hair that looks more natural than the one that comes with the wig. It will make the hairline like your real hairline and you can wear your wig easily.
